
10 Steps to Redo Your Garage Floor
Redoing your garage floor may seem like a complex project, but with the right steps, you can achieve a professional result.
In this article, we’ll guide you through the 10 essential steps to refinishing your garage floor, allowing you to breathe new life into this often neglected space. Discover our practical tips for a successful renovation project, and create a garage that meets your needs while adding value to your home.
10 steps to successfully refinish your garage floor
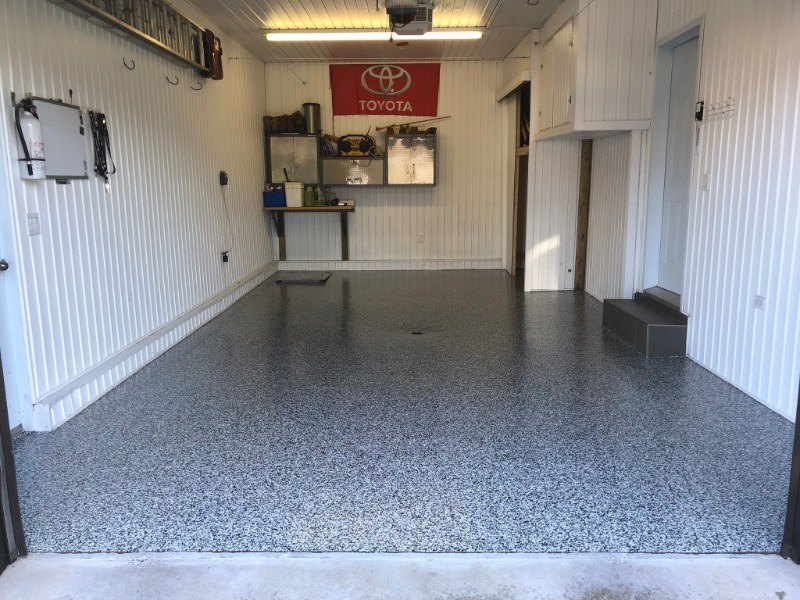
Renovating your garage floor can transform this space into a clean, attractive place.
Here’s a 10-step guide to successfully refinishing your garage floor:
Step 1: Determine the Concrete Type of Your Current Floor
Before starting any work, it’s essential to determine the type of concrete in your existing floor.
Factors such as humidity, waterproofing, porosity and the age of the concrete will influence the choice of products and the preparation required.
Step 2: Choose the product to use
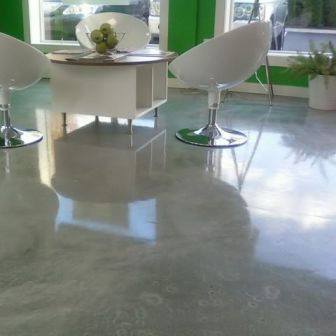
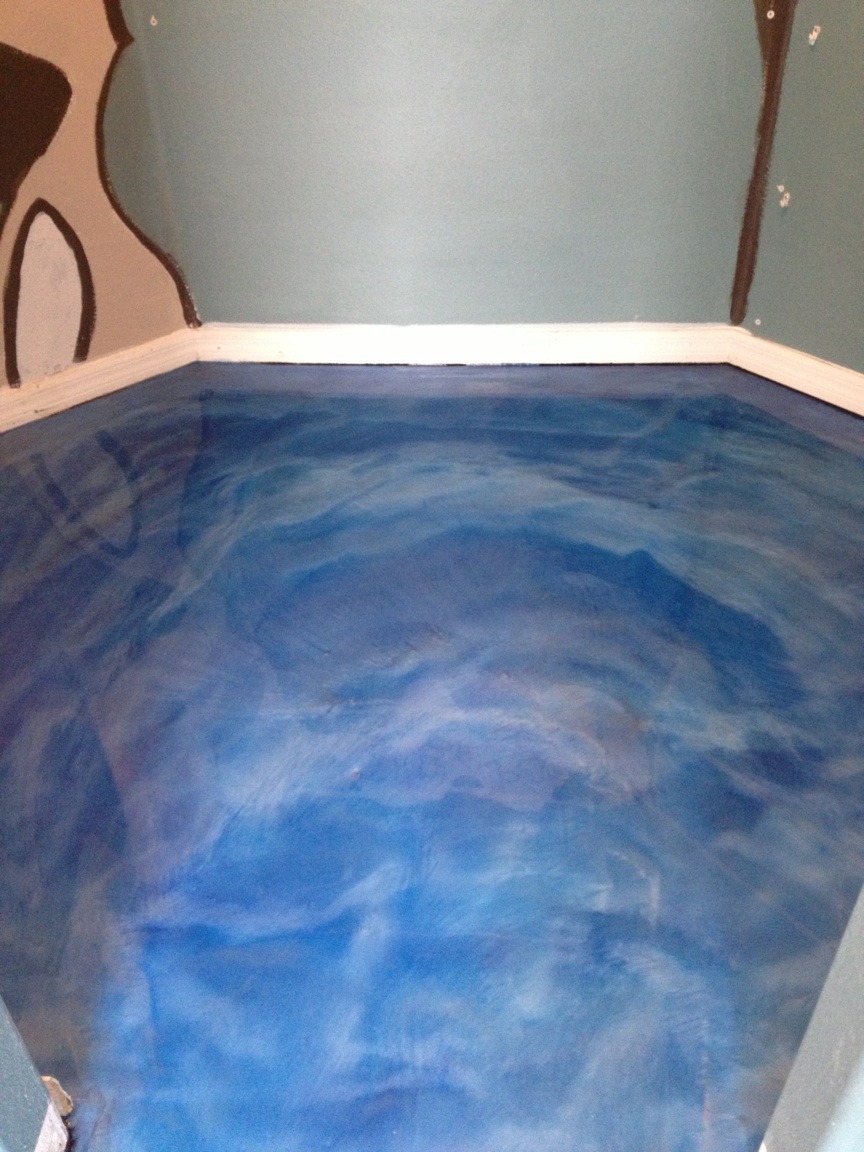
You can choose between epoxy and polyurea to cover your garage floor.
Epoxy is an economical option, while polyurea is more expensive but offers superior resistance to tire marks, abrasion and sun exposure.
Step 3: Prepare and repair the floor
Prepare the floor by repairing cracks, filling holes and sanding to level it.
You may need to use an acid to open concrete pores, or a diamond-tipped polisher for smooth surfaces.
Step 4: Gather materials
Before starting the application, make sure you have all the materials you need, such as safety goggles, latex gloves, paintbrush, paint roller, paint tray and the chosen product.
Trust the experts for your work
While some homeowners consider carrying out the project themselves, calling in a professional guarantees uniform application and minimizes the risk of costly mistakes. Trust Prostationnement for your renovations.
Step 5: Divide the Garage Area
Work in four-by-four-foot square sections to ensure even application.
Start with the perimeter of the room and the basin, then pencil in the rest.
Step 6: Roll on the product
Work quickly, as the product can harden in around 45 minutes after adding the activator.
Fill one four-foot section by four feet, then move on to the next.
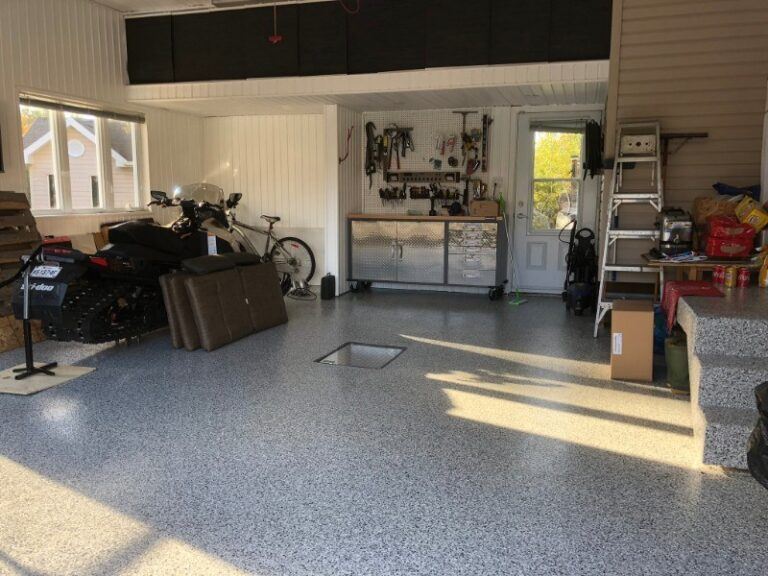
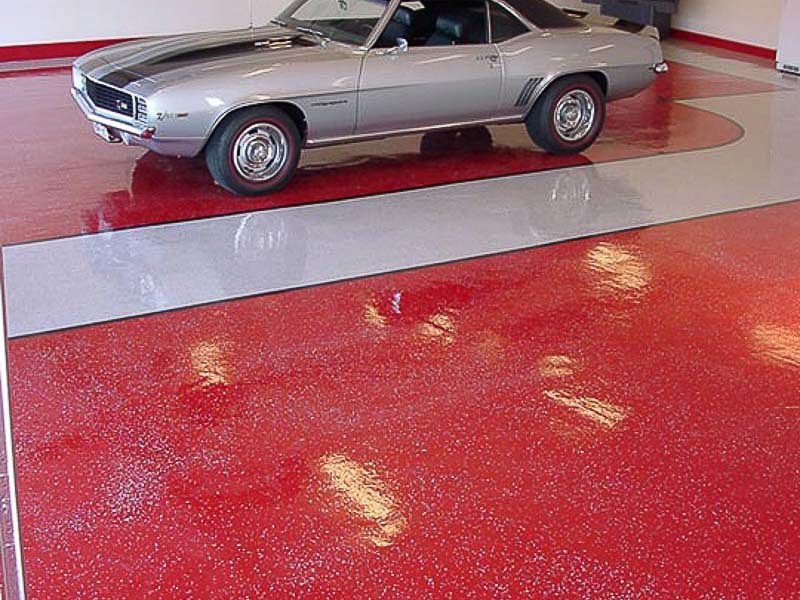
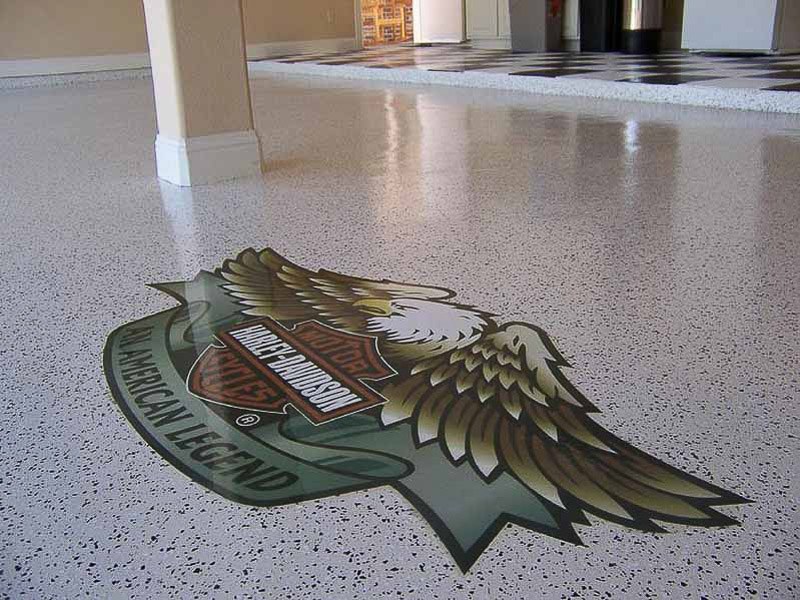
Step 7: Spread the Flakes
Spread the flakes evenly for an aesthetic effect.
The types of flakes you choose are mainly aesthetic, so you can give free rein to your creativity.
Step 8: Repeat Steps 6 and 7
Repeat the above steps for all four-by-four-foot sections.
Be consistent in applying the product with a roller and spreading the flakes for a professional result.
Step 9: Wait between one and two days
Drying time depends on humidity and exposure to sunlight. In general, the surface will be ready to walk on after 24 to 48 hours.
Make sure it’s completely dry before placing furniture or driving a vehicle in the garage.
Step 10: Share it with your neighbors
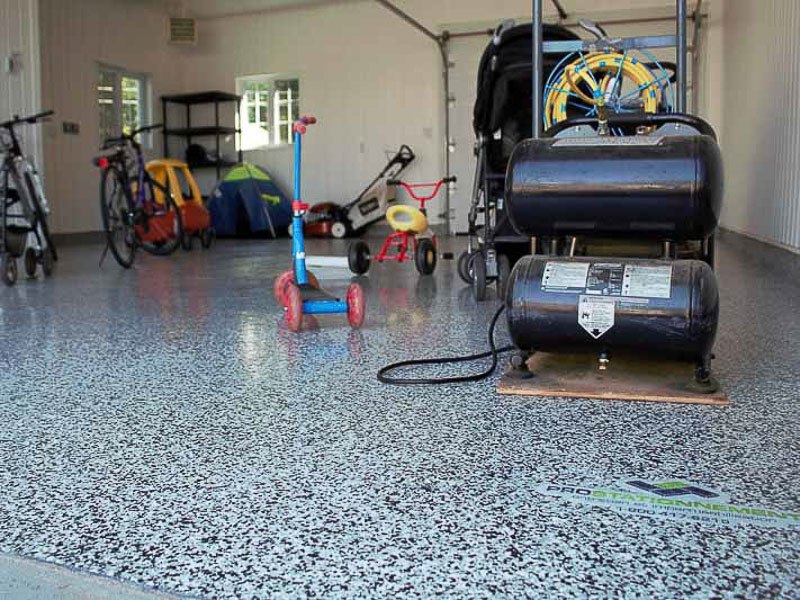
Enjoy your new durable, waterproof garage floor.
Proudly show it off to your neighbors and tell them you did it yourself, or give all the credit to Prostationnement, your epoxy and polyurea flooring expert.
Conclusion
By following these 10 steps to successfully refinishing your garage floor, you’ll be well equipped to transform this underappreciated space into a clean, attractive place.
Once your project is complete, you’ll see not only an aesthetic improvement, but also added value for your home. Enjoy a functional and attractive garage thanks to a well-planned and executed renovation.
Don’t forget to consider your specific needs and choose the products and techniques that best suit your situation.
With patience and dedication, you can enjoy a refurbished garage that fully meets your expectations.